Printing Setup for Computer Science
Introduction
The print server (pegasus.cs.engr.uky.edu) aggregates printers in the Computer Science Network, it uses IPP as the native printing protocol. This aggregation provides flexibility because we only need to know the name of the print server and the queue, everything else is handled behind the scenes when communicating with the printers. The queue is what identifies a printer on the print server and therefore the print job will be sent to that printer. It’s recommended to use IPP as the main printing protocol as long as your operating system supports it (which most systems do). The legacy LPR (LPD) option is also supported by our infrastructure for software clients that needs to comunicate with the LPD server process to send printing jobs. Both methods work, use the one that your Operating System supports or the one that work best for you. If in doubt, just try one of the methods and you will find out if it works for you.
Note
The IPP option needs a driver For Windows while the LPR (LPD) option doesn’t. This note is subject to modifications.
Notation and Terms
queue: It’s the destination where your print jobs will be sent. You need this information to be able to setup the printing correctly, one example is the queue named pink.http://pegasus.cs.uky.edu:631/printers/queue- This notation is the one we use when configuring printing using the IPP (Internet Printing Protocol) on Windows. Here, queue should be replaced by the printer name (see point #1) on our systems. If you don’t know the queue’s name just ask us and if you can please specify the physical location of the printer you are trying to use, also specifying the floor, if possible./printers/queue- This notation is used on Mac OS to configure the queue location on the print server.
Index
Please use the following index based on your Operating System and the method you want to use to print.
Windows printing using LPR
Warning
You will need administrative rights on your windows computer to complete this task.
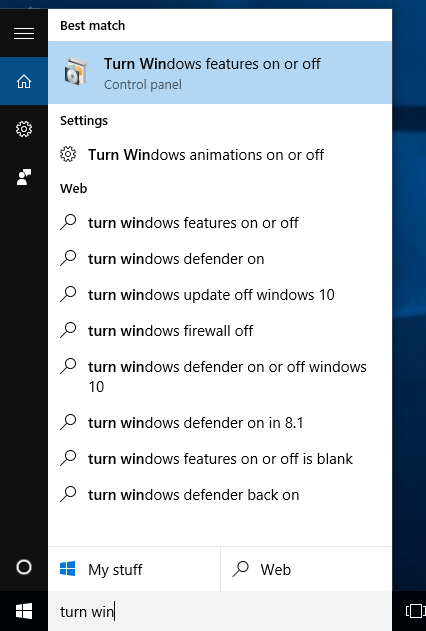
- The LPR support is not included in Windows by default. The following procedure is for Windows 10, but it should work on Windows 7 as well. To enable LPR on Windows machines, click Start and type “turn windows features” into the search bar. Click the Turn Windows Features on or off” option at the top of the start menu.
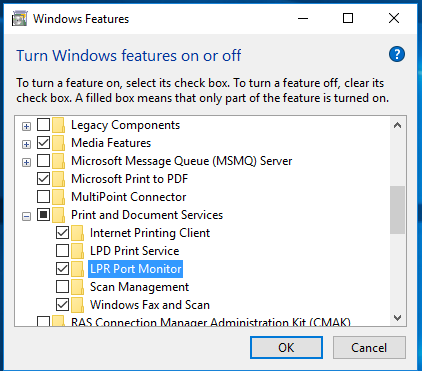
- In the Windows Features window click the plus sign next to Print and Document Services. Then select the box next to LPR Port Monitor. Click OK
- Reboot the computer to active the new settings.
Install the driver and add the printer
Note
This procedure from this point forward can be performed with regular user credentials.
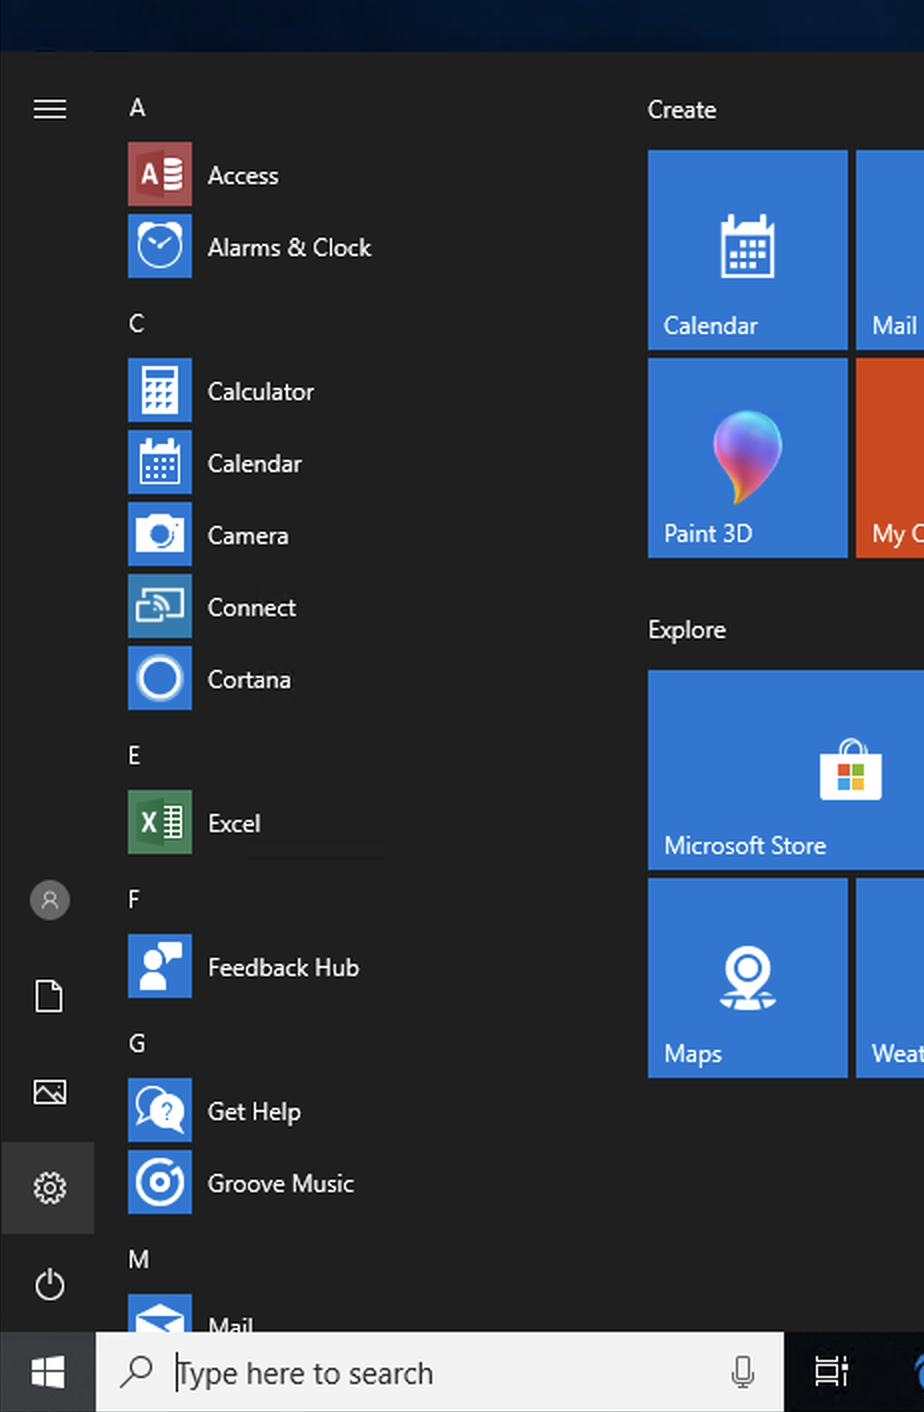
- Click the windows icon on the lower left corner of the desktop then click the gear icon (up two spaces) to open settings.
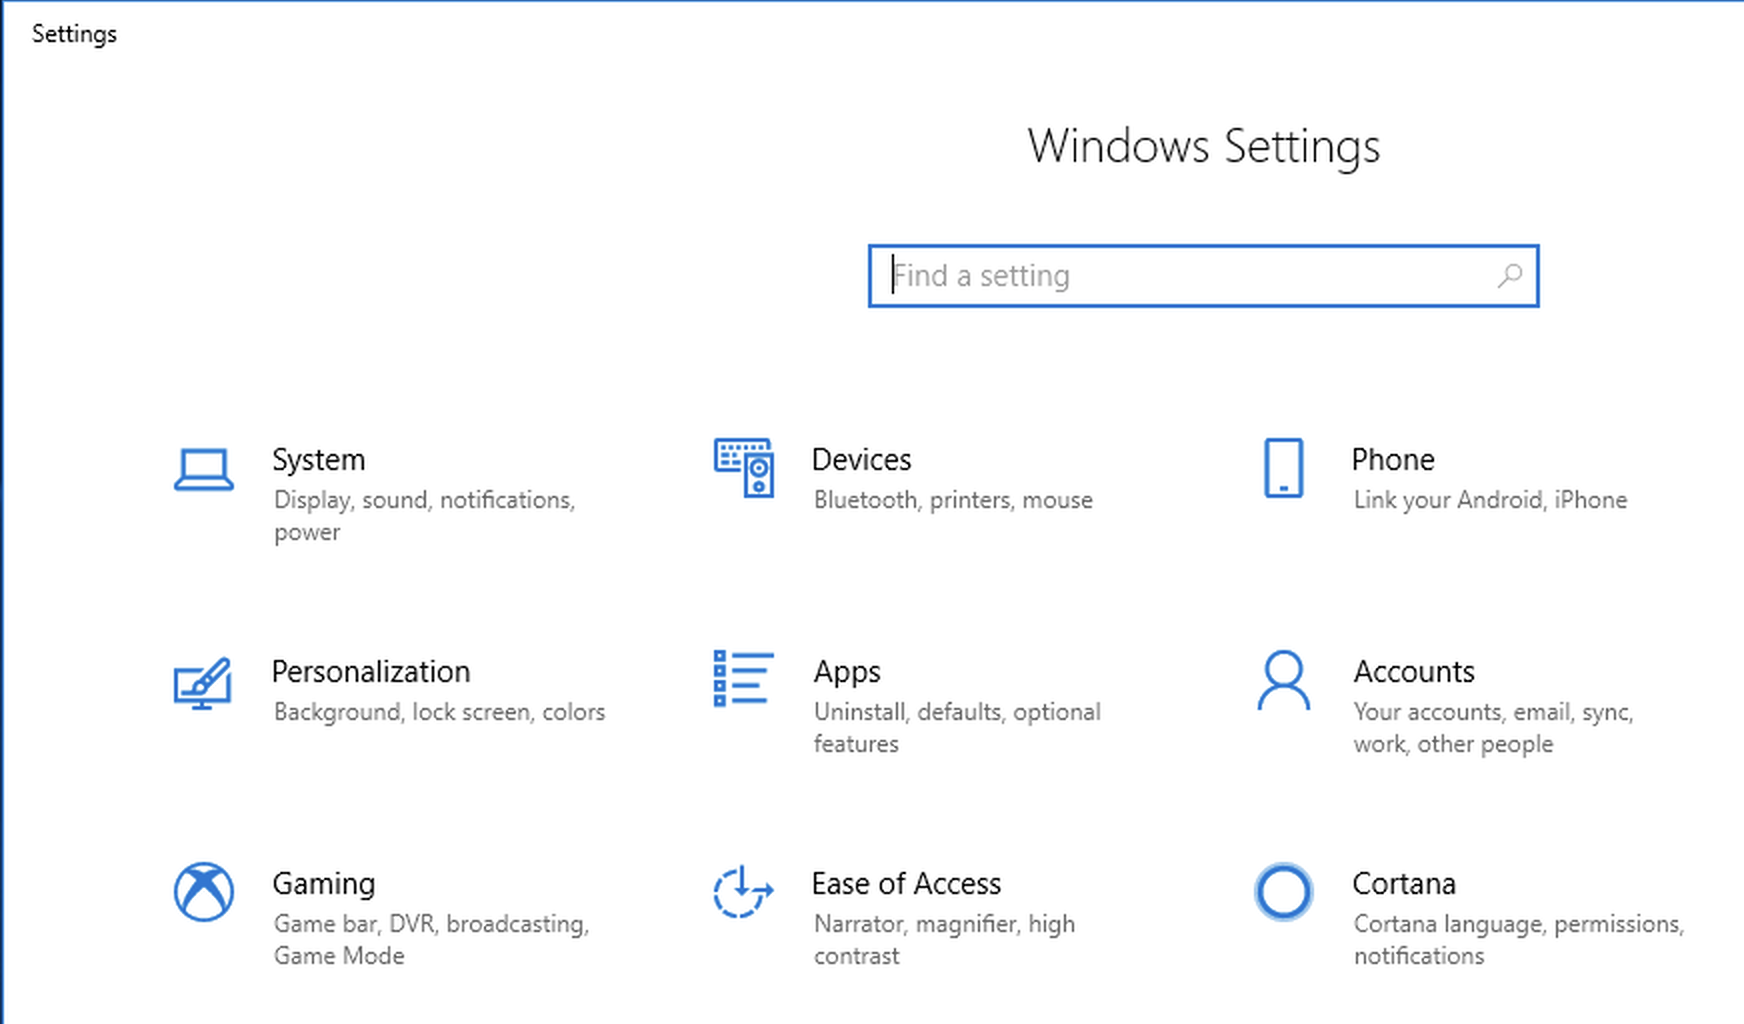
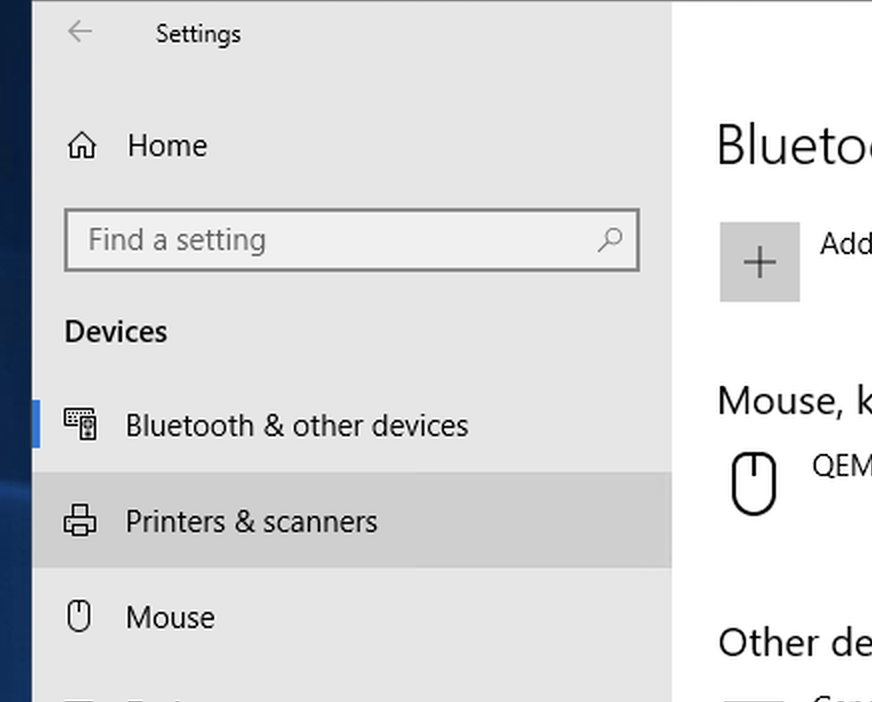
- Once the “Windows Settings” window has opened, select “Devices”.
- Select “Printers & scanners” from the Devices menu on the left.
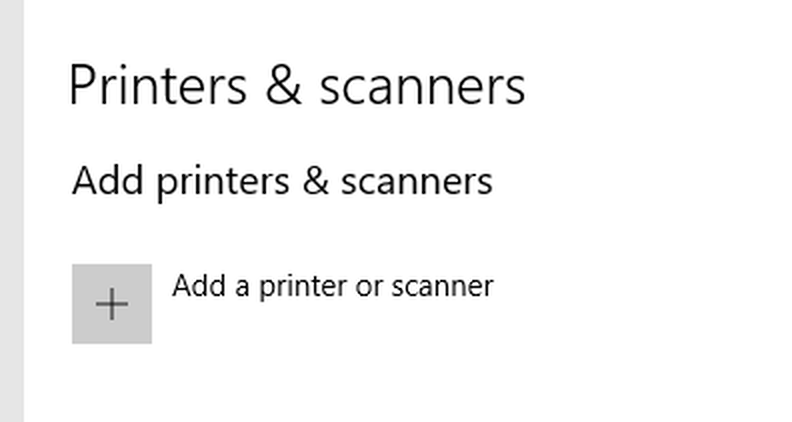
4. Click the plus symbol below Add printers & scanners. Windows will scan the network for available printers. Since we are primarily a Linux shop, the printer you are looking for will likely not be detected.
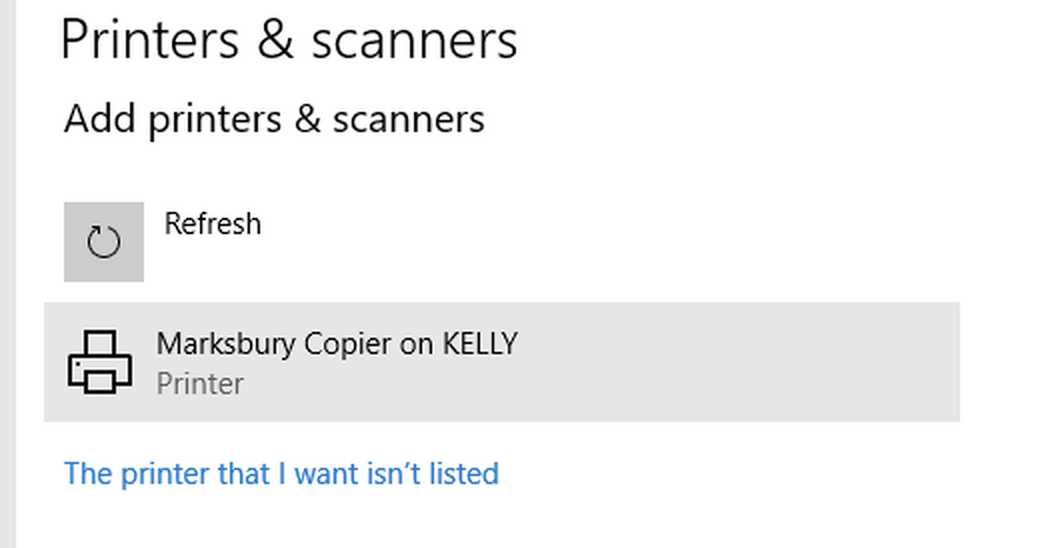
- If the printer you would like to use is the Marksbury Copier, click it and it will be added to your available printers. Otherwise, click The printer that I want isn’t listed.
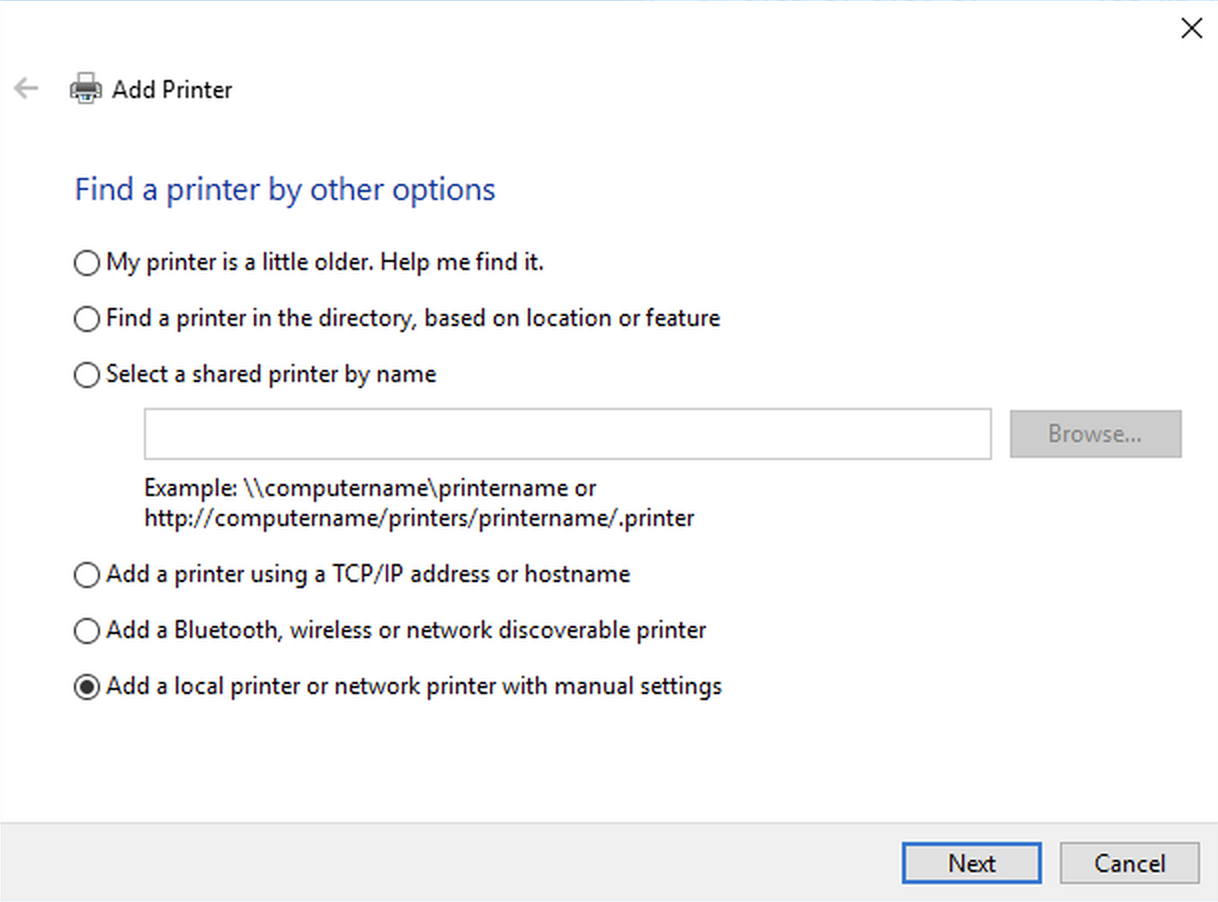
- In the new window that opens, click the radio button next to Add a local printer or network printer with manual settings. Click Next.
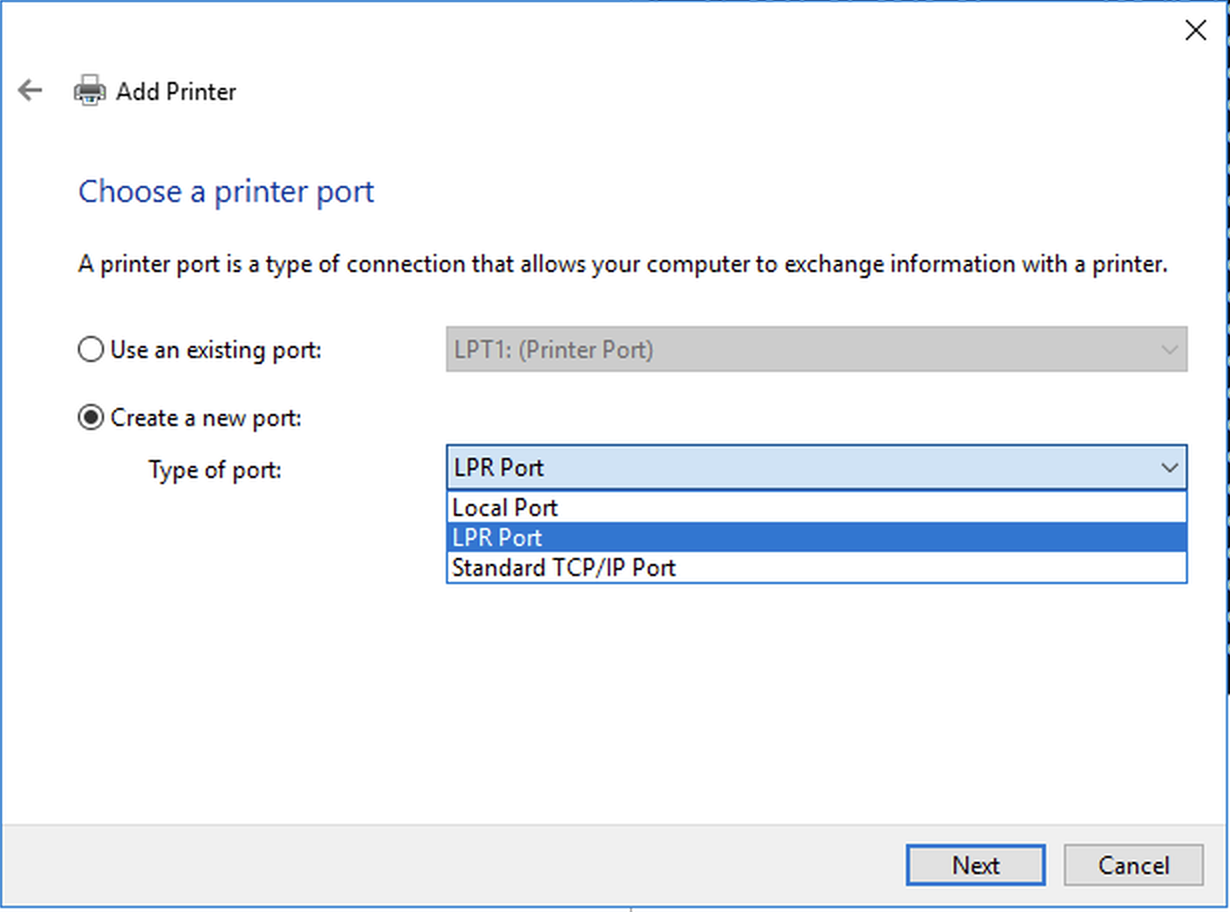
- The next window allows us to create (or choose) a printer port. We need to Create a new port, drop down the menu and select LPR Port. Click Next.
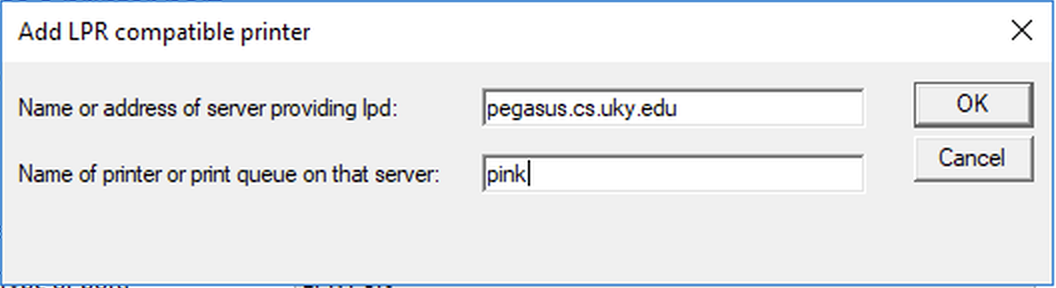
- In the new window that opens, enter the following in the first blank:
pegasus.cs.uky.eduand in the second blank enter the name of the printer, for this example, the name of the printer we are installing is pink. Enter the name of the printer you are installing in place ofpink. Click OK.
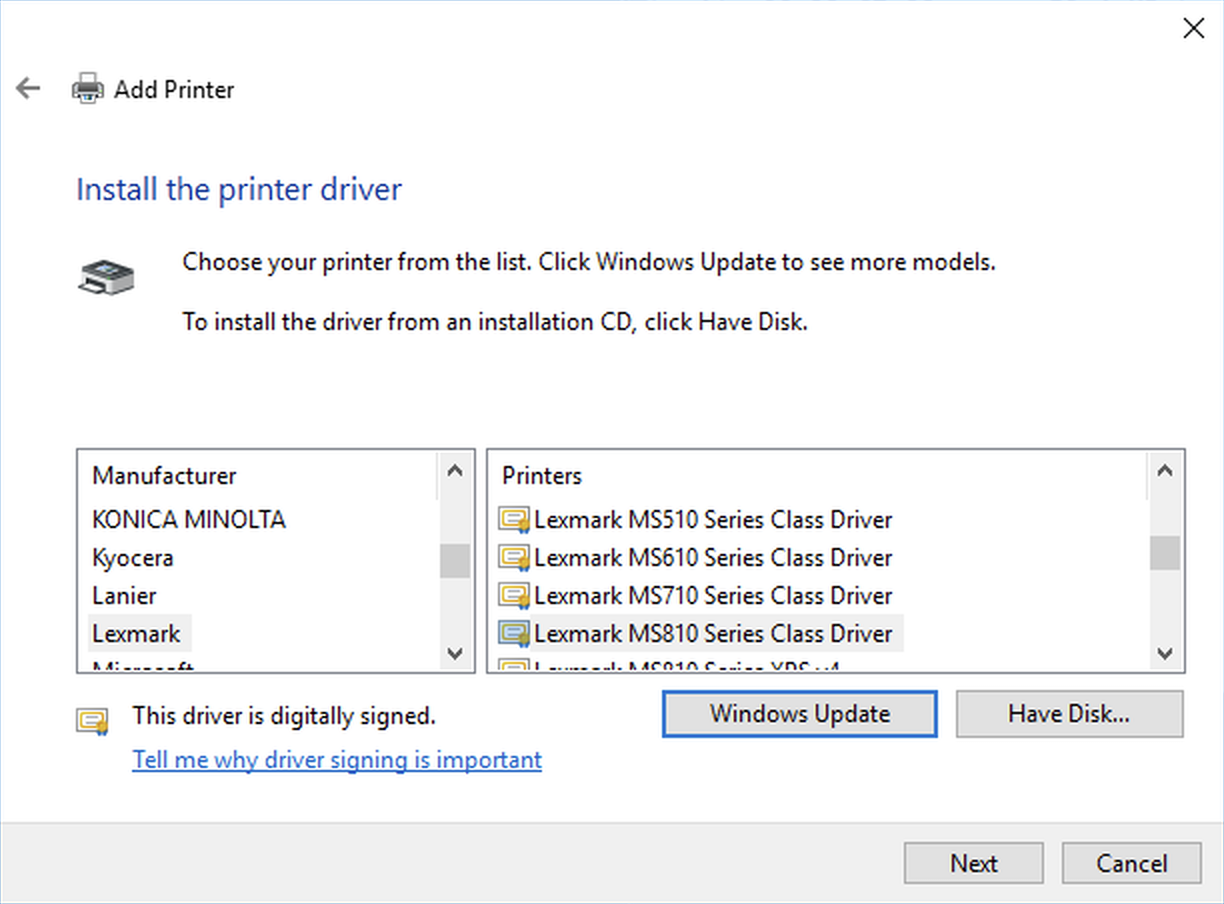
- Now we need to select the correct printer driver.
pinkis aLexmark MS810dnbut you should check the printer model you are connecting to and use the driver for that model. If the exact make and model is not available click Windows Update and search for it, the required driver will be available.
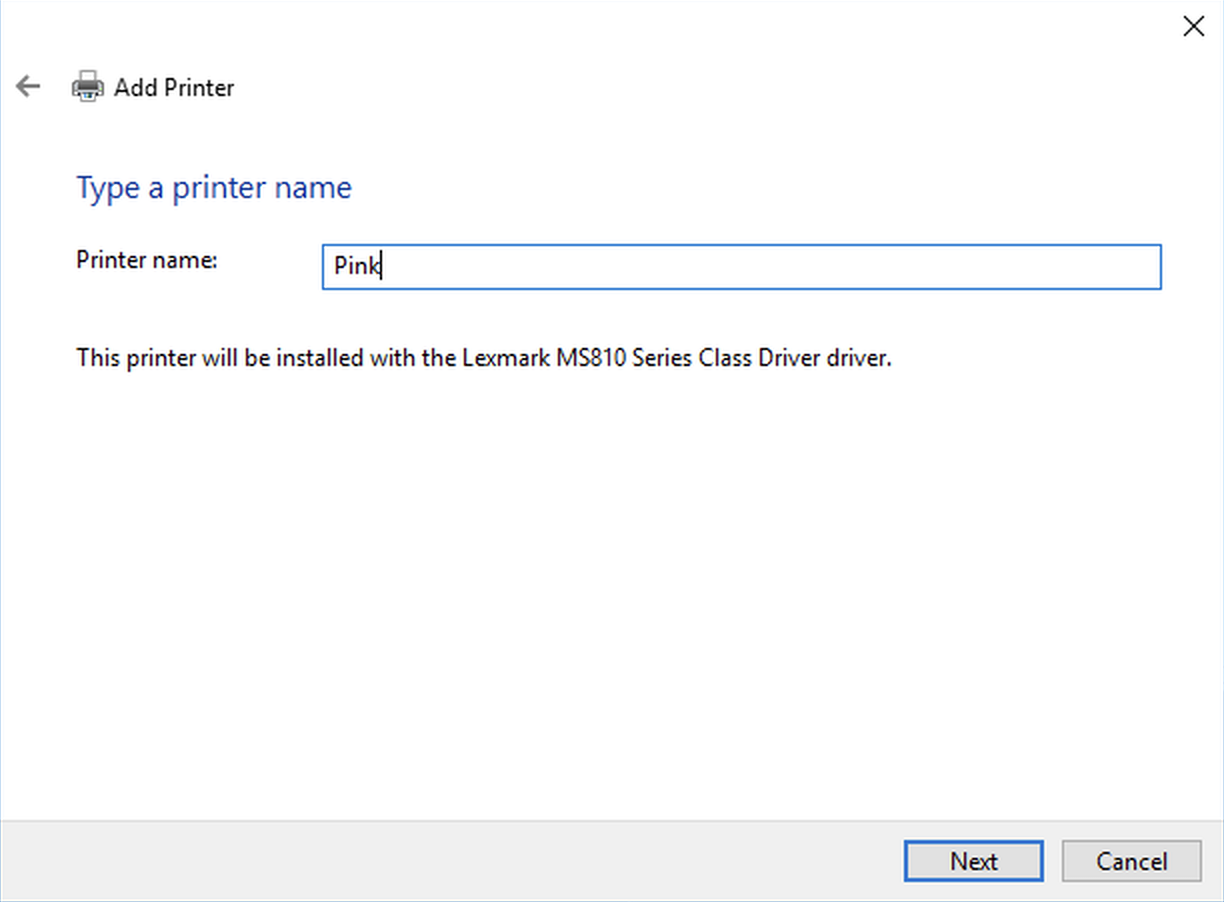
- Change the name from the default to something meaningful. It’s a good idea to name the printer by the common name, i.e. Pink. Click next.
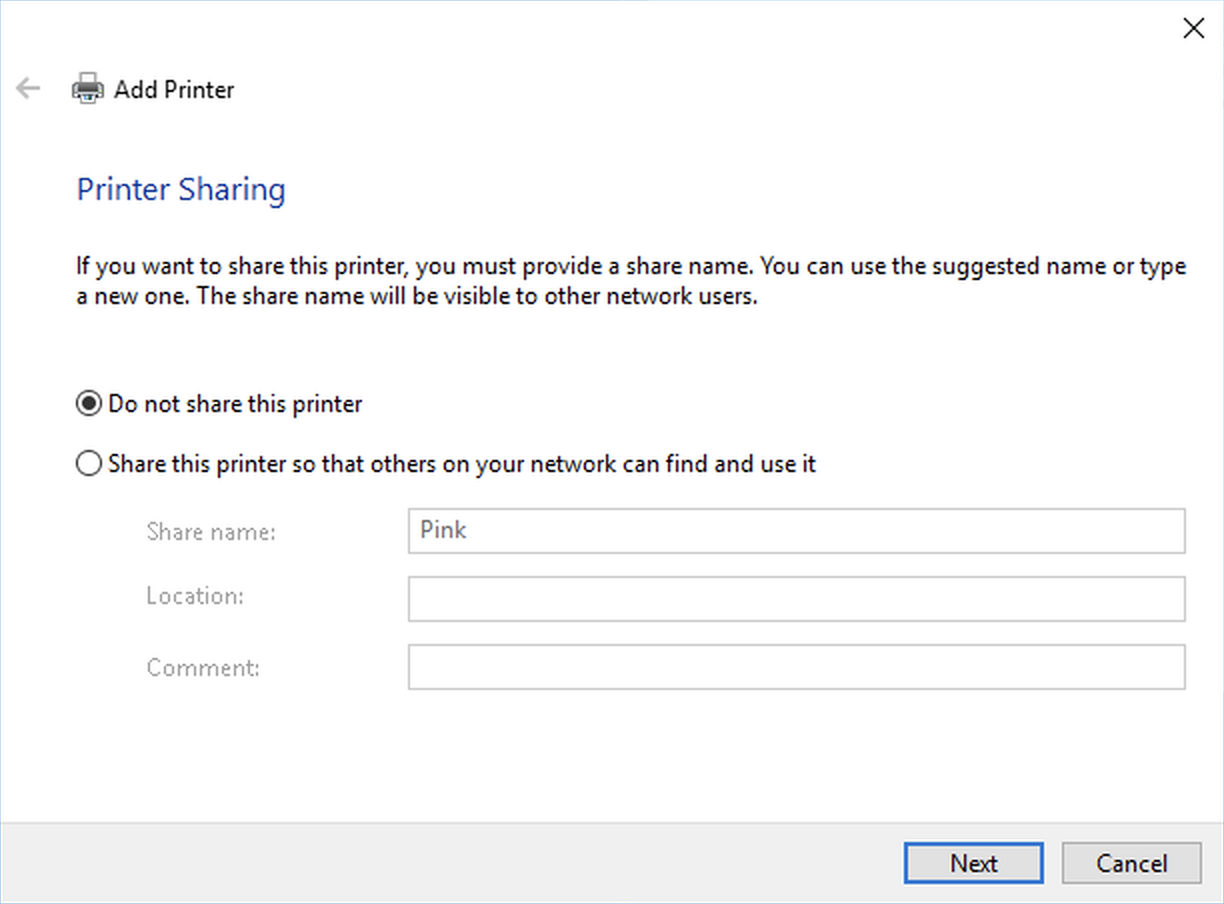
- Make sure to select “Do not share this printer” (the printer is already shared). Click Next.
- Click Next and the printer should now be successfully installed.
Windows Printing using IPP
This example will use the printer named pink. Keep in mind that this printer belongs to a research area and might not be accessible to you. Always make sure what is the location or name of the printer you want to use in case you are configuring the printer by yourself or need help to do so.
Open Control Panel as seen in the following figure
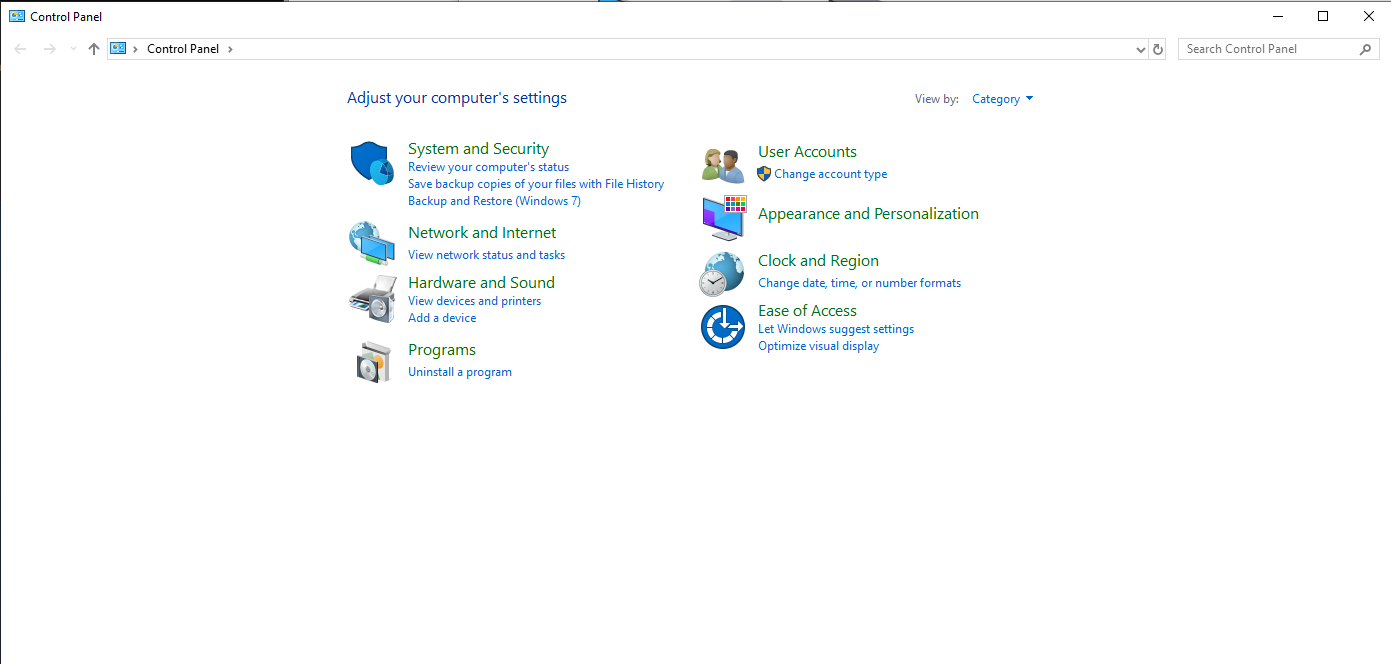
Click on View devices and printers as shown in the previous picture.
On the top left of the Window click on Add a printer.

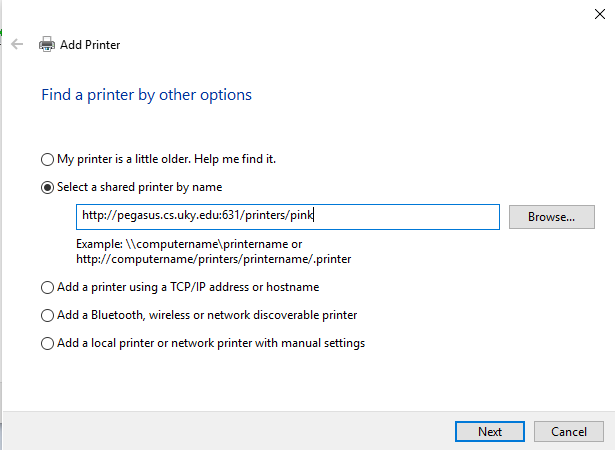
On the popup window select The printer that I want wasn’t listed.

In the next dialog type http://pegasus.cs.uky.edu:631/printers/queue where queue is the printer name you are planning to use and then click on Next. In the following example the print queue named pink is used.
The IPP client on Windows will query the print server and will show the folowing window:
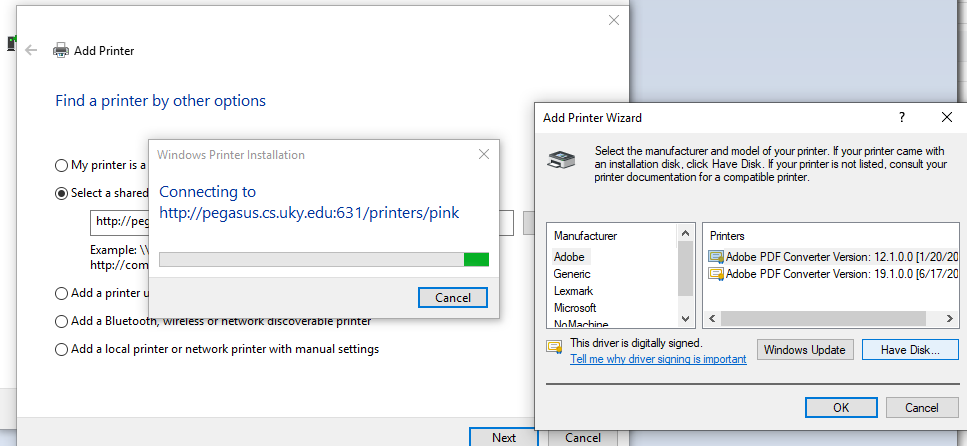
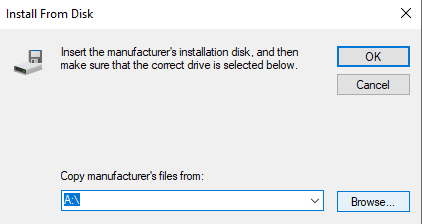
Click on Have Disk and proceed to click on Browse to look for the directory on your computer where you have the printer driver. The IPP method requires a software driver for the printer, in this example we are addding a printer with model MS810 from manufacturer Lexmark, drivers for it can be downloaded by clicking here.
If you are adding the Ricoh Printer in the first floor please use this driver and change the queue name to rainbow when configuring the printing.
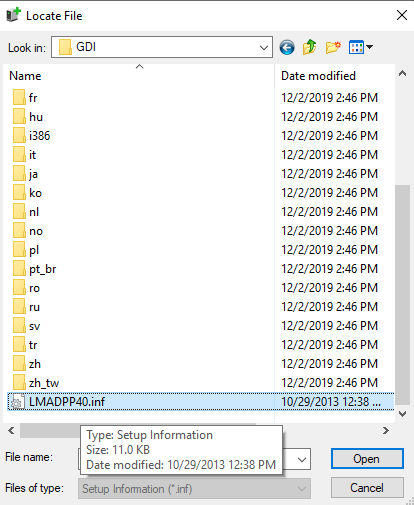
In this step you need to locate the INF file that is on the driver’s directory, the next example shows that the file is on the top level directory when the drivers were uncompressed. Click the file and select Open.
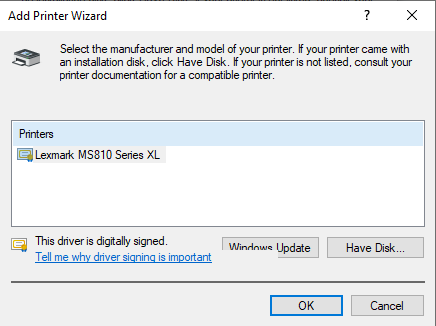
Once selected the following window will show the software driver available and for what printer model. Select that driver and click on OK.
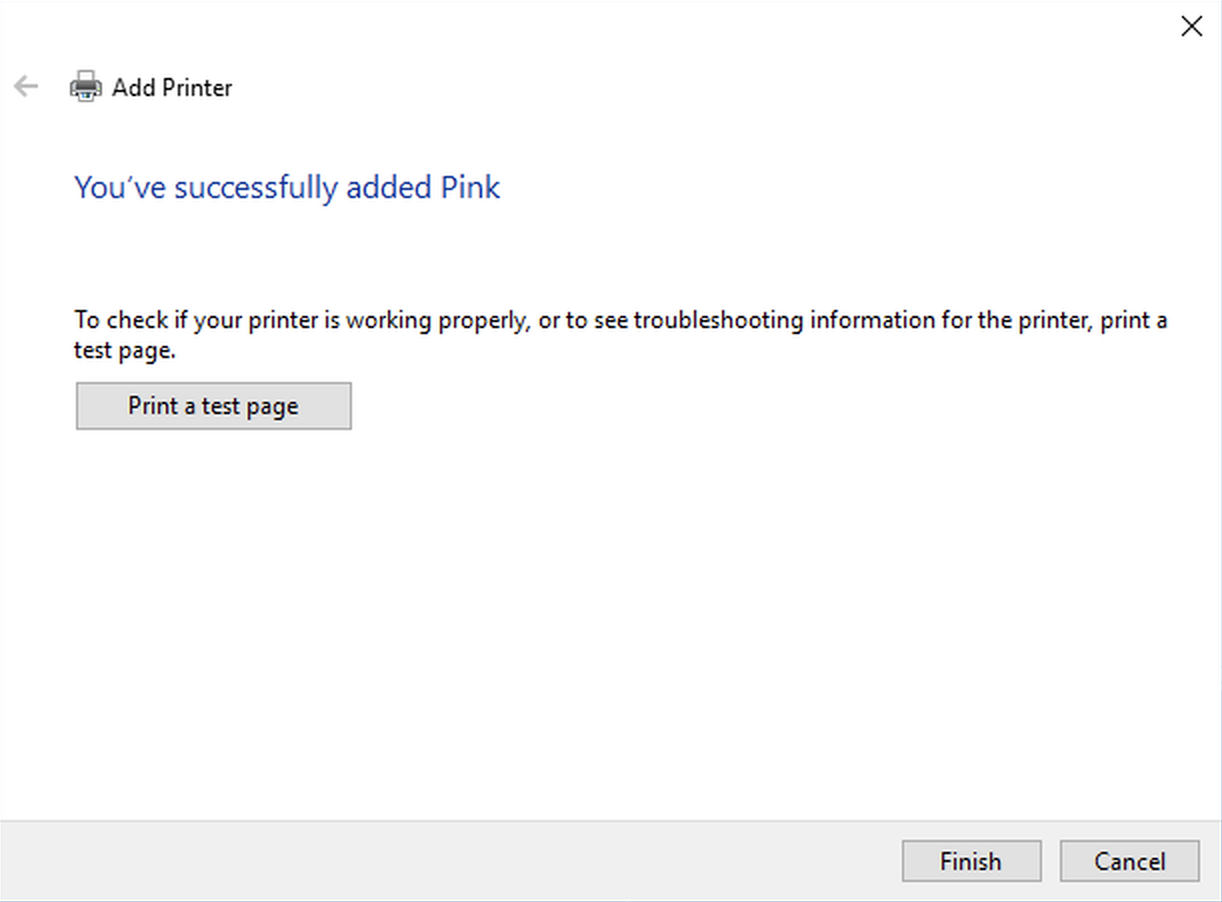
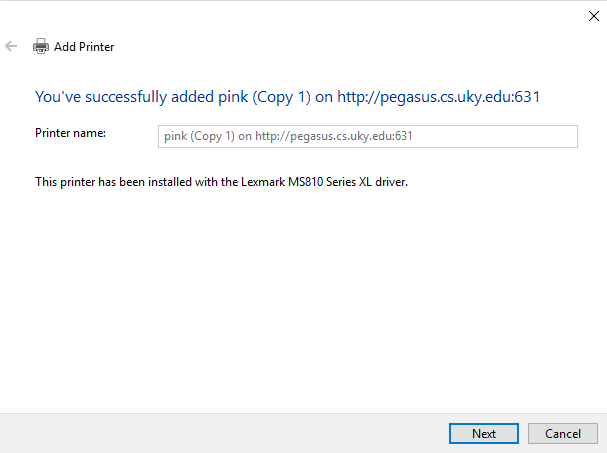
The system should inform you if the printer was successfully added. clik Next.
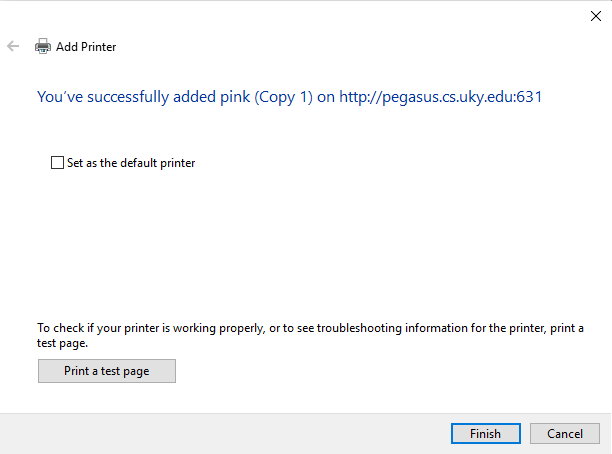
Use this step to print a Test Page to make sure that the printing is working. Also if you plan to use the printer as your default printer select the checkbox Set as the default printer.
Mac OS printing using LPD
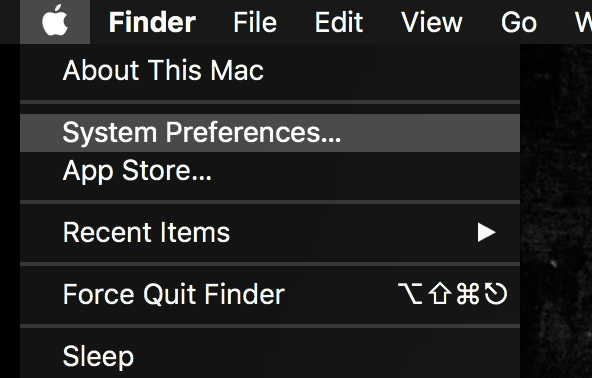
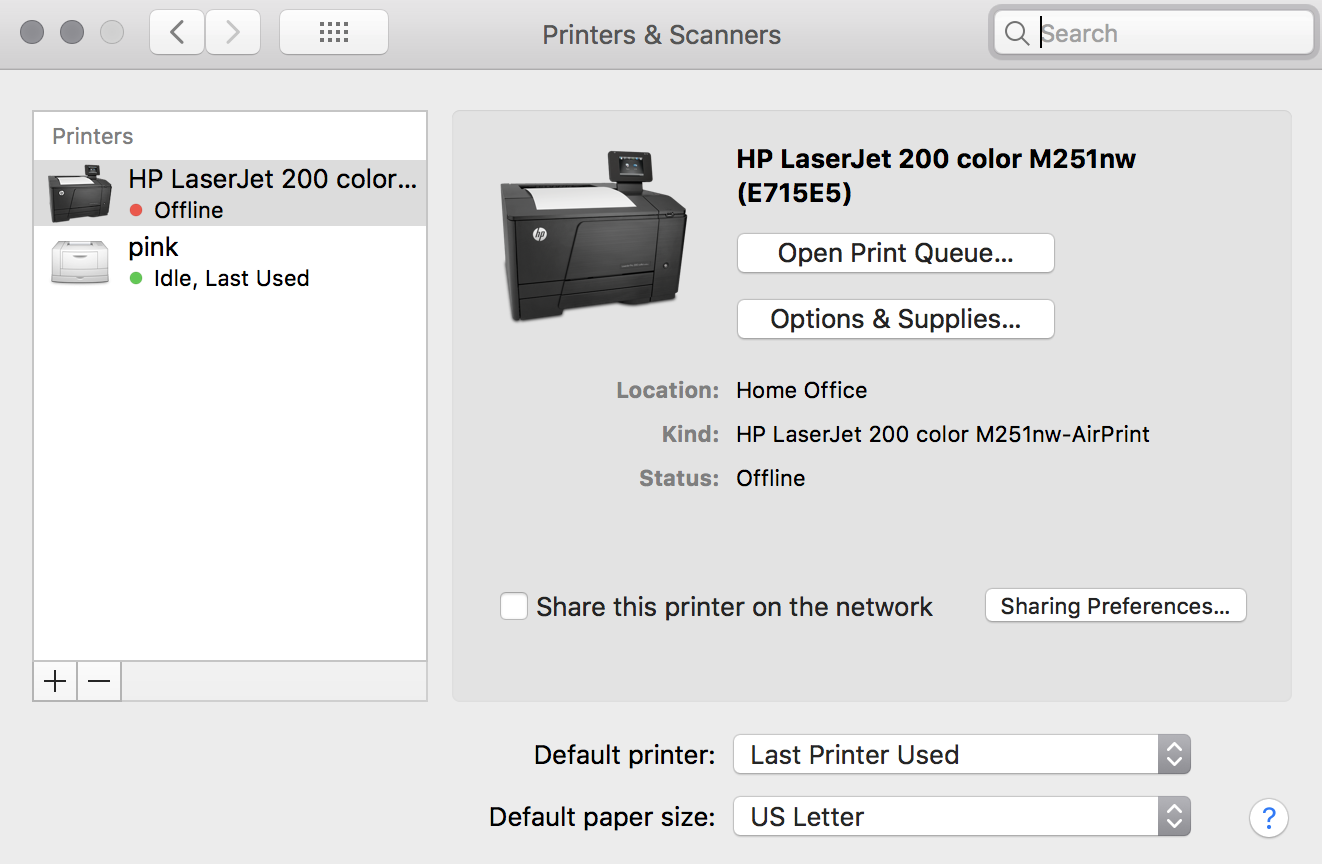
- Go to system preferences by clicking on the Apple logo at the top left of the screen.
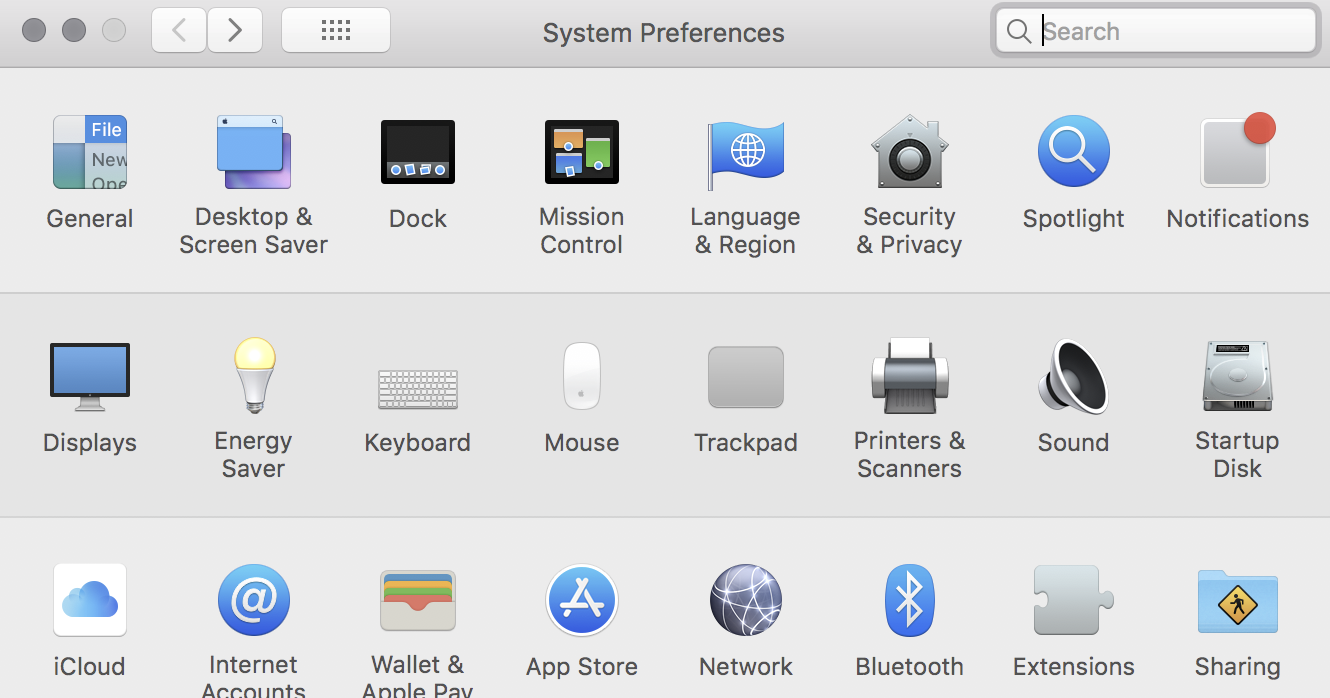
- Click Printers & Scanners, usually located on the second row of icons.
- You should now see all installed printers. To add a new printer click the plus sign near the bottom left of this window.
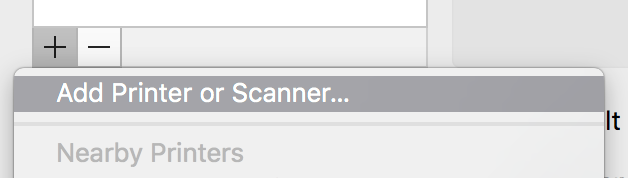
- A drop down menu will open when you click the plus sign (
 ), select “Add Printer or Scanner…”.
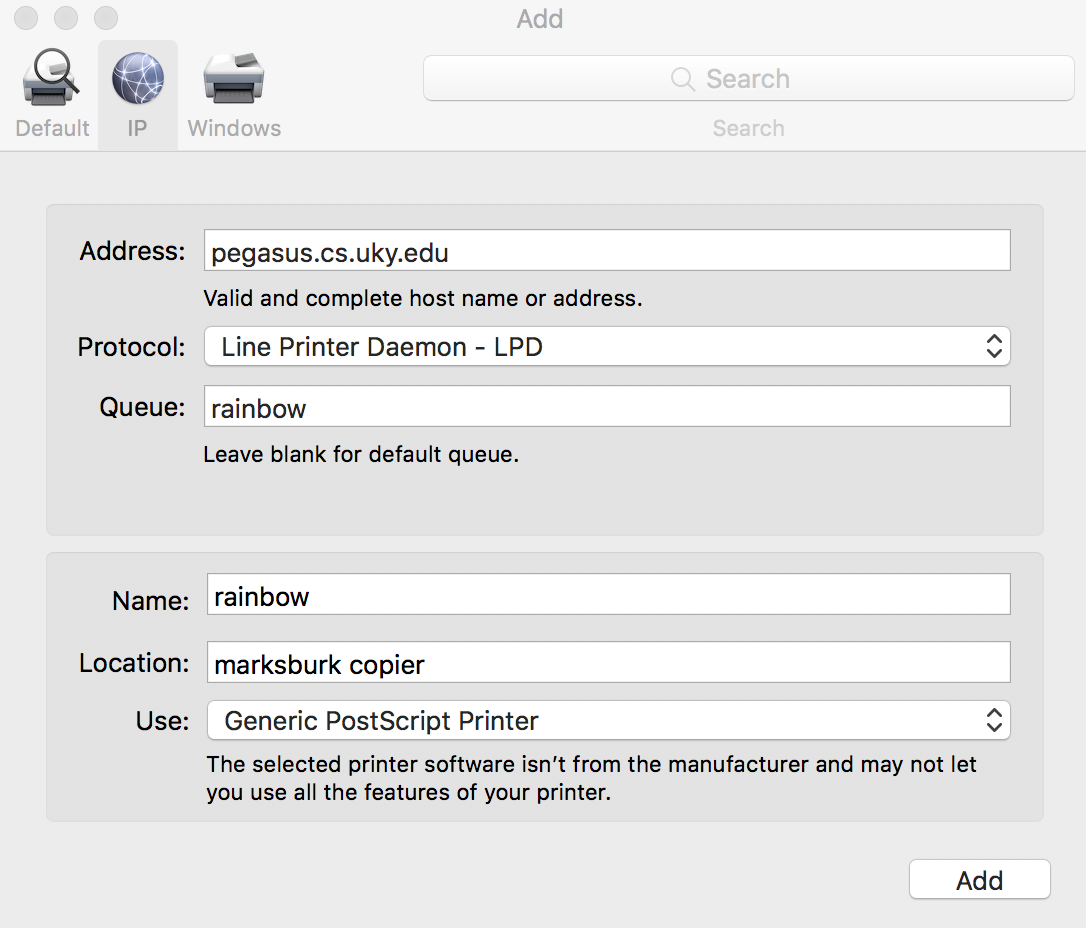
- In the new window that opens, click the Globe labeled IP. In the Address: field enter
pegasus.cs.uky.edu. For Protocol: select Line Printer Daemon - LPD. And in the Queue: field enter the name of the printer you would like to connect to. The name of the printer is optional but it is recommended to give it the same name as the queue. Enter a location that is meaningful. Click Add.
Mac OS printing using IPP
Note
Normally the printing from Mac OS without the driver works out of the box. But if you have issues just install the driver and follow the instructions.
Adding the
Lexmark MS810 Seriesprinter (using as an example a printer named pink).Install the
Lexmark MS810 SeriesDriver first (optional). TheMac OSDriver (for10.6.8and later) can be downloaded here: MS810.dmg. After you install this software please proceed to the next step.To use the IPP protocol with Mac OS follow the above instructions (for
LPD) which are the same, but on step#5useInternet Printing Protocol - IPPinstead ofLine Print Daemon - LPD. Also on the text field Queue the syntax you shoud write is/printers/queuename, for example/printers/pink. To add a the Driver (optional) select the text field labeledUse:click on the menu and selectSelect Software. Then SelectLexmark MS810 Serieswhich is one of the options and then click onAdd, then click onConfigureand then clickOK. If you don’t want to use the driver skip theSelect Softwareoption andMac OSwill automatically select theGeneric PostScript Printerthen click OK.Adding the
RICOH Aficio MP C2051/C2551Printer named rainbow (DMB 1st Floor). First, identify your Mac OS version down below and click the link to download the printer driver installer.
Proceed as usual (double click the downloaded file) to install the software. The next step is to follow the printer setup as in the previous step
(above) but replacing the queue’s name with /printers/rainbow and when using the Select Software from the menu and on the
filter text field you should type 2551. You will see the printer listed as RICOH Aficio MP C2551 PS, select that option
and click on OK, then click Add and click OK to finish the installation.
Linux
Global printing configuration
This section is for any Unix like system that use the CUPS software tools, but commands like systemctl, service, etc. are Linux specific, in those cases consult your OS documentation on how to restart printing services, etc.
Open /etc/cups/client.conf as the root user or using sudo in your favorite editor (i.e. vim, emacs, nano or
your preferred text editor) and add the following line to /etc/cups/client.conf
ServerName pegasus.cs.uky.edu
Now restart the cups service.
For example on Ubuntu 18.04 using systemd:
sudo systemctl restart cups-browsed cups
or for upstart (mostly used by some older Linux distributions, although still supported at the command level):
sudo service cupsd restart
Per User configuration
Perform the same steps as above but editing the file ~/.cups/client.conf. This configuration
doesn’t require super user permissions to edit the file since the printer setting will be only for the current logged in
user.
Setting the default printer
By default there is no default destination to print (or default printer as it has been known). As a regular user, use the following command:
$ lpoptions -d pink
And once the command is executed successfully you will see the following text (this example used pink to set it as the default printing device):
$ lpoptions -d pink
  copies=1 device-uri=socket://pink.cs.engr.uky.edu finishings=3 job-cancel-after=10800 job-hold-until=no-hold
  job-priority=50 job-sheets=none,none marker-change-time=1575917426 marker-colors=#000000,none,none,none
  marker-levels=52,20,65,-1 marker-names='Black\ Toner,Imaging\ Unit,Maintenance\ Kit,Roller\ Kit'
  marker-types=toner,opc,other,other number-up=1 printer-commands=AutoConfigure,Clean,PrintSelfTestPage printer-info='Lexmark Optra T632 TCP/IP'
  printer-is-accepting-jobs=true printer-is-shared=true printer-is-temporary=false printer-location='Marksbury 304F'
  printer-make-and-model='Lexmark T644 PS' printer-state=3 printer-state-change-time=1575917426 printer-state-reasons=none
  printer-type=8425684 printer-uri-supported=ipp://pegasus.cs.engr.uky.edu:631/printers/pink
The -d command line option is used here to set the Default destination for printing jobs.
Printing (with examples)
After the setup you should be able to print from the command line (lpr file.pdf, for example) or from any application that supports printing. This is fine but this will print to the default destination, to print to a non-default printer use the -P command line switch with lpr and then use the printer/queue name, for example if your current destination is the print queue named pink but you need to print to the queue rainbow do the following:
$ lpr -P rainbow file.ext
Selecting a printer that is not the default from graphical interfaces is straighforward.
To print multiples copies use lpr -# copies, for example to print 2 copies of a PDF file use: lpr -# 2 file.pdf.
Getting Technical Support
If you are having problems locating the driver or printer or just want to do this process really quick just send a message to help@cs.uky.edu and we will help you.