Marksbury Theater
Attention
The theater operating room is key-card locked at all times. Refer back to your theater reservation email for instructions on how to access this room.
Theater start-up
- Connect your personal machine to the projector using one of the two podium connectors; VGA, or HDMI (Most MAC machines will require a VGA/HDMI adapter).
Note
For those individuals with Mac laptops, we do have several Lightning 2 to HDMI and Lightning 2 to VGA converters in the theater operating room. If a Lightning 3 (USB-C) adaptor is needed, please contact AVtraining@cs.uky.edu prior to theater use.
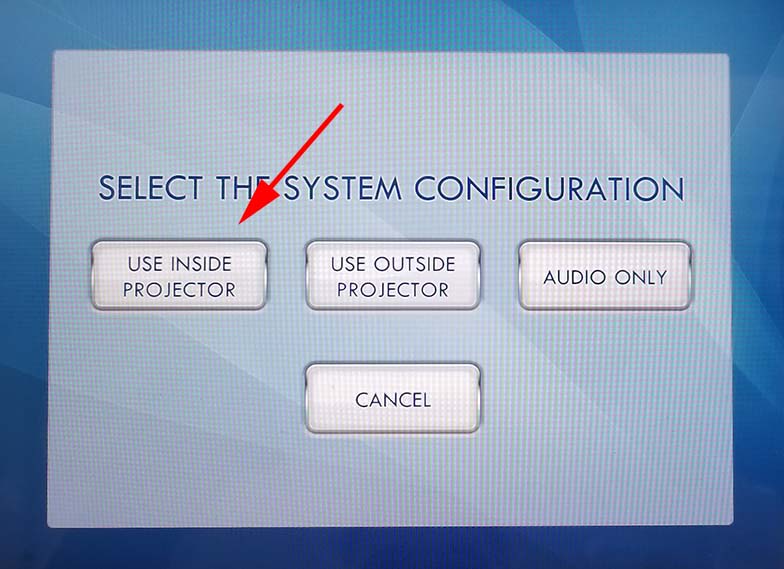
- In the theater operating room locate the iPad on the table. Under the Basic Usage section, select the appropriate option in the Theater Presets section. Most computers will be connected via HDMI and would use :guilabel: Theater On using Podium HDMI. Wait for the theater to finish its start-up routine.

- To adjust the lighting, find the section called Lighting Presets. The one that works best for most presentations is Presentation Lighting. If you need more lighting, be careful not to washout the screen as many lighting options make it hard to see the presentation.

- Sound and volume should only be adjusted on the iPad, Please do not touch the Yamaha soundboard. The microphones can be used without any other configuration needed.
- When the presentation has completed please select Theater Off. All equipment will be turned off and be ready for the next user.

Theater start-up (Audio-only)
Audio only options:
Microphones can be used without turning on the rest of the equipment. To use them without the projector. To do so, simply find the section named A/V and select On next to Audio Mixer.
Use the microphones as directed in the Microphone Usage section.
Shutdown the theater using the same steps from Theater shutdown in the previous section.

Microphone Usage
- Make sure to follow the steps in the **Audio-only** <#theater-start-up-(audio-only)> section above There should be lights indicating power is active on the receiver and sound board.
- To turn on the clip mic, PRESS and HOLD the POWER button until the LED display switches on. PRESS and HOLD this button again to shut it off.
- For the hand held mics, PRESS and HOLD the button on the butt of the handle until the LED display switches on to turn it on. PRESS and HOLD this same button to shut it off.
Attention
Please remember to secure all audio equipment back in the theater operating room before leaving.
Note
If the mic indicates a low battery on the display, there are additional batteries in a charging mount on the back wall of the theater operating room.
Blu-ray Player Usage
- Follow steps 1-5 under the section Theater start-up.
- When you reach step 5, select
BLURAYon the rack unit near the soundboard. - Press the button in the top right-hand corner of the player to open the tray and insert your desired disk. The video should begin playing on the main projector.
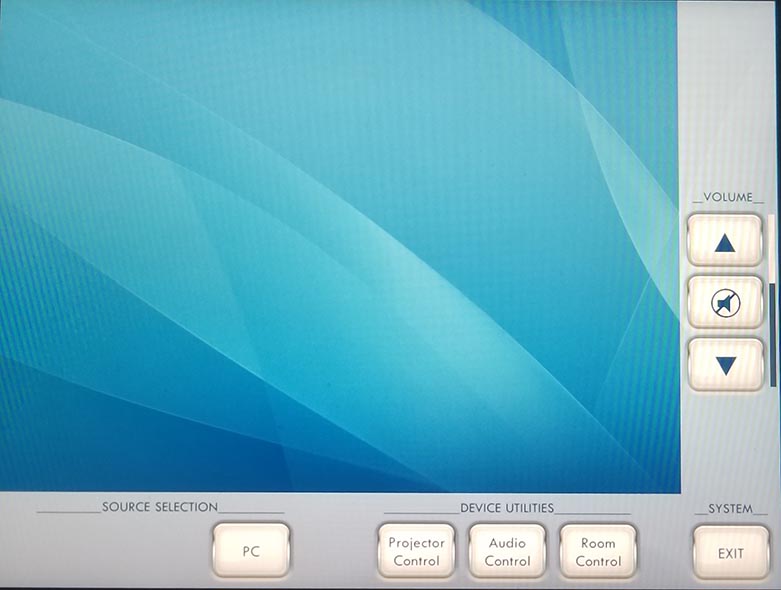
- Use the Blu-ray remote (The one labeled ‘SONY’ and ‘BD’) to navigate the disk’s menus. The arrows and speaker icons on the right-hand side of the IPad control volume.
- Shut down the theater using the steps from the <#theater-shutdown>`_ section.
Troubleshooting
1. No picture: If the screen keeps flashing blue or black, unplug the power from the device with two purple network cables on the bottom shelf of the podium then plug it back in. This symptom is caused by a failure in the HDMI handshake. To prevent it from happening, turn off power-saving features of your laptop.
- No sound: Make sure the sound board is turned on in the control room.
3. Other problems or questions: Contact AV support avtraining@cs.uky.edu or call 71839.